Login
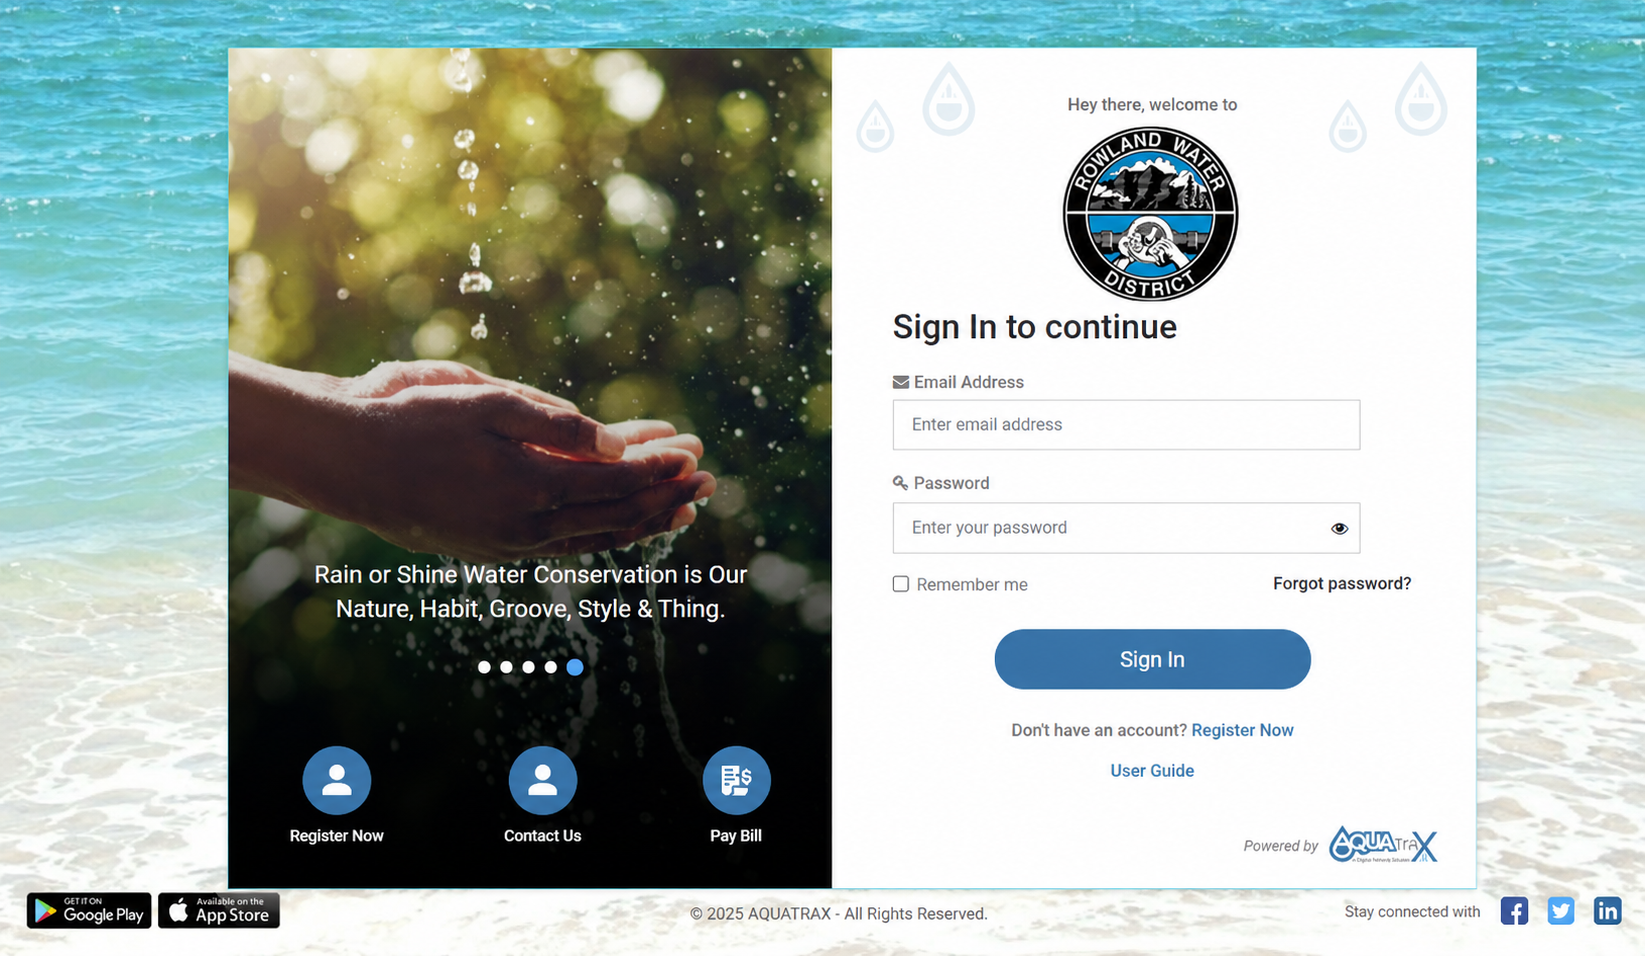
Customers can access the AquaTrax portal using any web browser such as (Google Chrome, Safari, or Microsoft Edge)
Portal URL: https://myaquatrax.com/ROWLAND
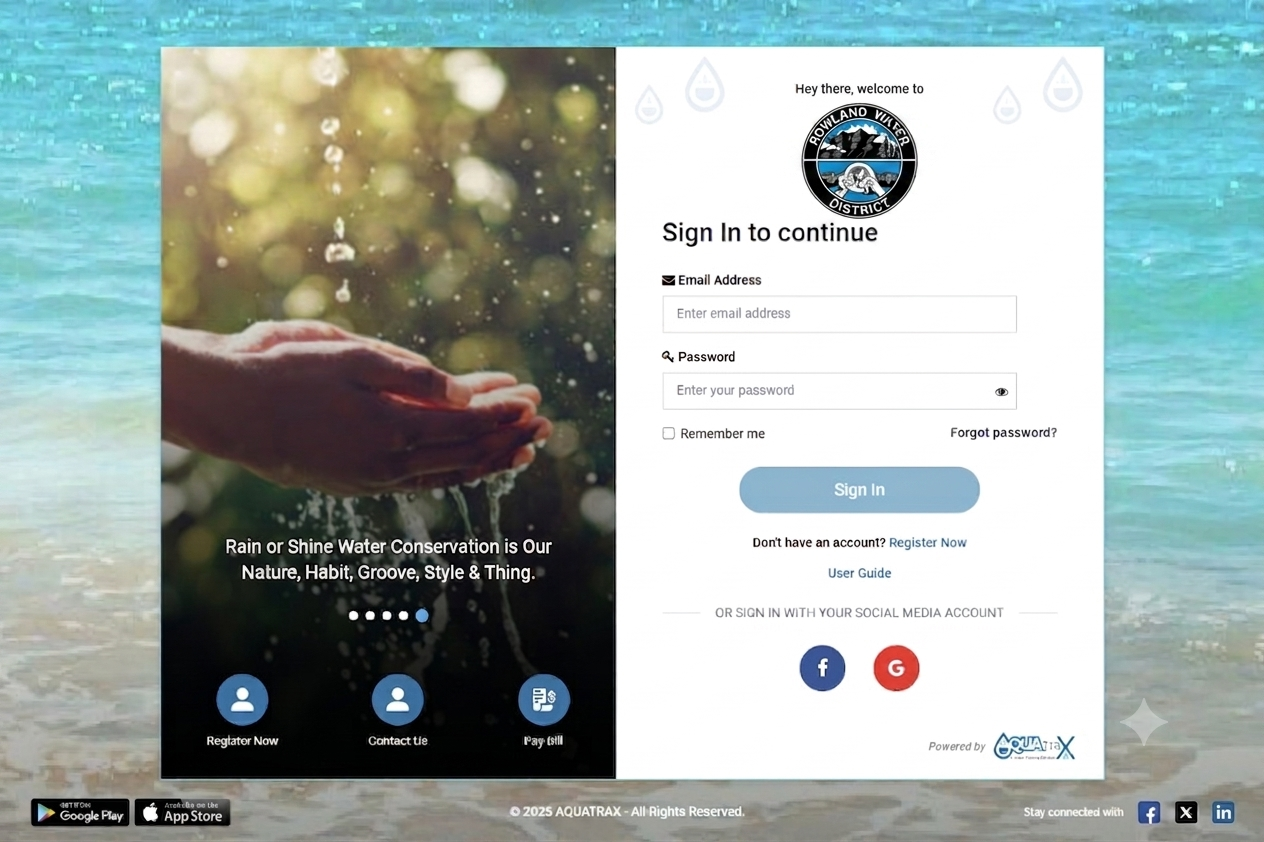
Types of Login-
The AquaTrax Customer Portal provides multiple login options for customers. Customers can access the portal using their AquaTrax credentials, Auto registration, Google, Facebook, or their existing Invoice Cloud credentials.
1- Login with Email
Customers can log in to the AquaTrax Customer Portal using their registered email address and password.
Customers who do not have an AquaTrax account must first register by clicking “Register Now” on the Sign In page
Steps-
- 1. Go to the Sign In page.
- 2. Click “Register Now.”
- 3. Enter the details requested in the registration form.
- 4. Complete the registration process.
- 5. After successful registration, use the registered email address and password to sign in.
- 6. After successful authentication, the customer will be redirected to the AquaTrax dashboard.
2- Auto-Registration
For active customers who are not yet registered on the AquaTrax Customer Portal, the system automatically initiates the Auto-Registration process.
Steps-
- 1. The system identifies an active customer who is not currently registered on the AquaTrax Customer Portal.
- 2. An Auto-Registration Email is automatically sent to the customer's registered email address.
- 3. The customer receives the Auto-Registration email with instructions to access the portal.
- 4. The customer can use the “Forgot Password” option on the AquaTrax Sign In page to set their password.
- 5. The customer enters the same email address on which the Auto-Registration email was received.
- 6. The customer completes the password reset/set-password process.
- 7. After successfully setting the password, the customer can return to the Sign In page.
- 8. The customer enters:
- Email ID: The email address on which the Auto-Registration email was received.
- Password: The password set using the Forgot Password option.
- 9. The customer clicks Sign In.
- 10. After successful authentication, the customer is redirected to the AquaTrax Customer Portal dashboard.
- 1. Open the AquaTrax Customer Portal Sign In page
- 2. Enter the Email ID registered with your Invoice Cloud account.
- 3. Enter your Invoice Cloud Password.
- 4. Click Sign In.
- 5. AquaTrax will validate the entered credentials through the Invoice Cloud authentication process.
- 6. Once the credentials are successfully validated, you will be redirected to the AquaTrax Customer Portal Dashboard.
- 7. You can access the AquaTrax portal using your existing customer account and permissions.
- ⦁ Go to the Sign In page.
- ⦁ Click the Google (G) icon under “Sign in with your social media account.”
- ⦁ A Google login window will open.
- ⦁ Enter your Google email and password (or select an already logged-in Google account).
- ⦁ After successful authentication, you will be redirected to your Aqua Trax dashboard.
- ⦁ Open the Sign In page.
- ⦁ Click the Facebook (F) icon under “Sign in with your social media account.”
- ⦁ A Facebook login window will appear.
- ⦁ Enter your Facebook credentials and allow access (if prompted).
- ⦁ You will be logged in and redirected automatically.
3- Sign In Using Invoice Cloud Credentials
Customers who already have an Invoice Cloud account can use their existing Invoice Cloud Email ID and Password to sign in to the AquaTrax Customer Portal. No separate AquaTrax registration is required.
Steps to Sign In -
Note: Use the same Invoice Cloud Email ID and Password associated with your existing Invoice Cloud account.
4- Login with Google
Customers can sign in quickly using their Google account.
Steps-
5- Login with Facebook
Customers can sign in using their Facebook account.
Steps-
Registration
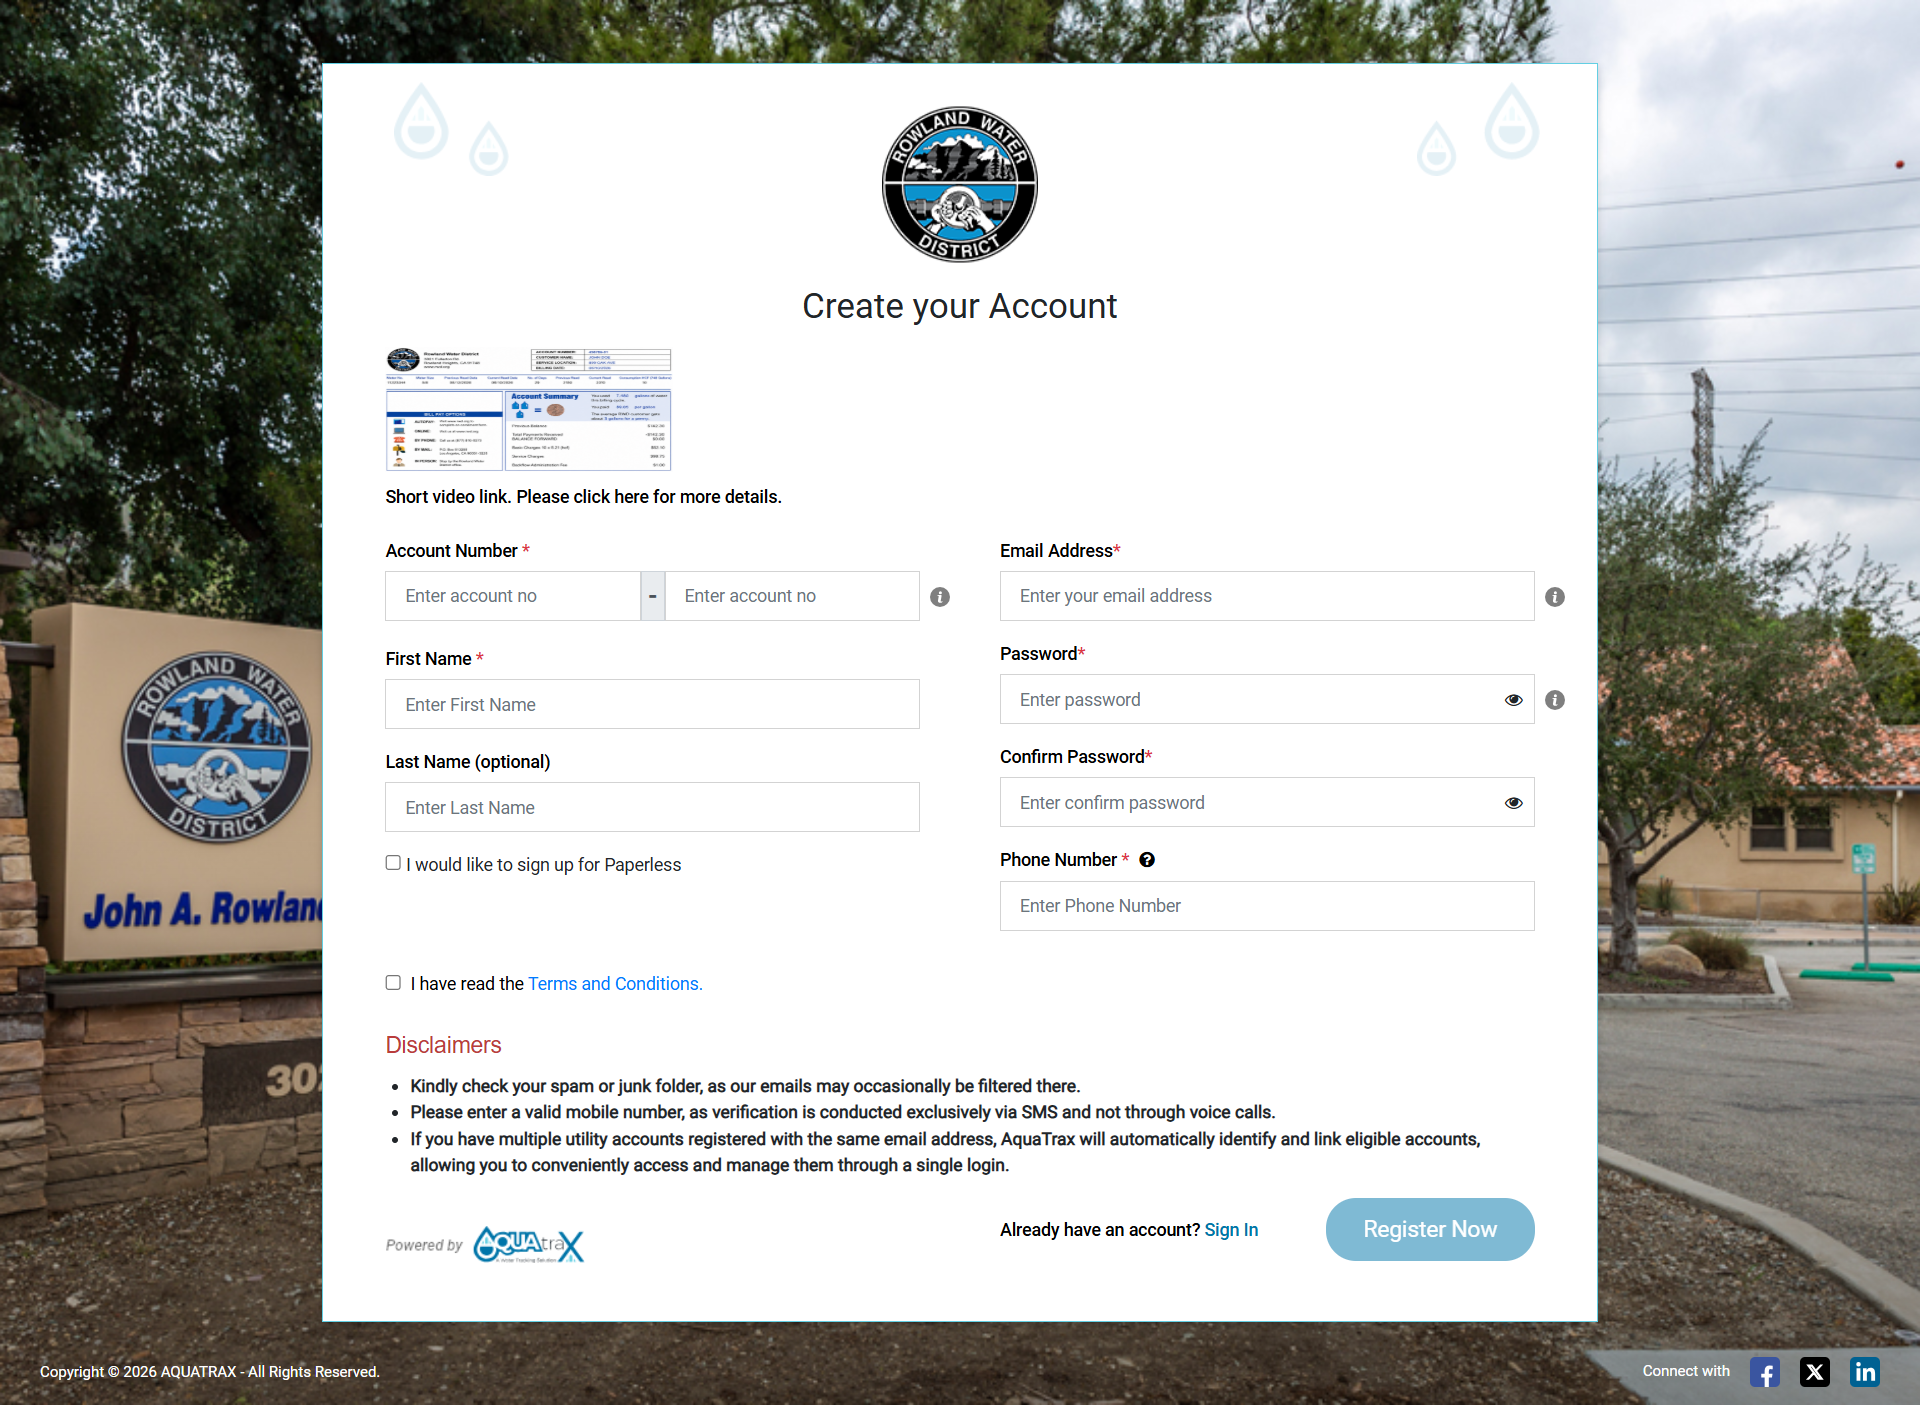
On clicking "Register Now", the customer will be navigated to this screen where customers can fill out their details and confirm their registration.
How to Register
1. Fill in the Required Details:
- ⦁ Account Number (Mandatory)
- ⦁ Email Address (Mandatory)
- ⦁ Password & Confirm Password (Mandatory)
- ⦁ Phone Number (Mandatory)
- ⦁ First Name (Mandatory)
- ⦁ Last Name (Optional)
2. Agree to Terms:
- ⦁ Check the “Terms and Conditions” box.
- ⦁ Click “Register”.
3. Verify Account:
- ⦁ You will receive an OTP (One-Time Password) via Email and SMS.
- ⦁ Enter the OTP (One-Time Password) to activate your account.
4. Login:
- ⦁ After successful activation, you can log in to your account.
Note-
- ⦁ A sample bill and a short video guide are available to help you register easily.
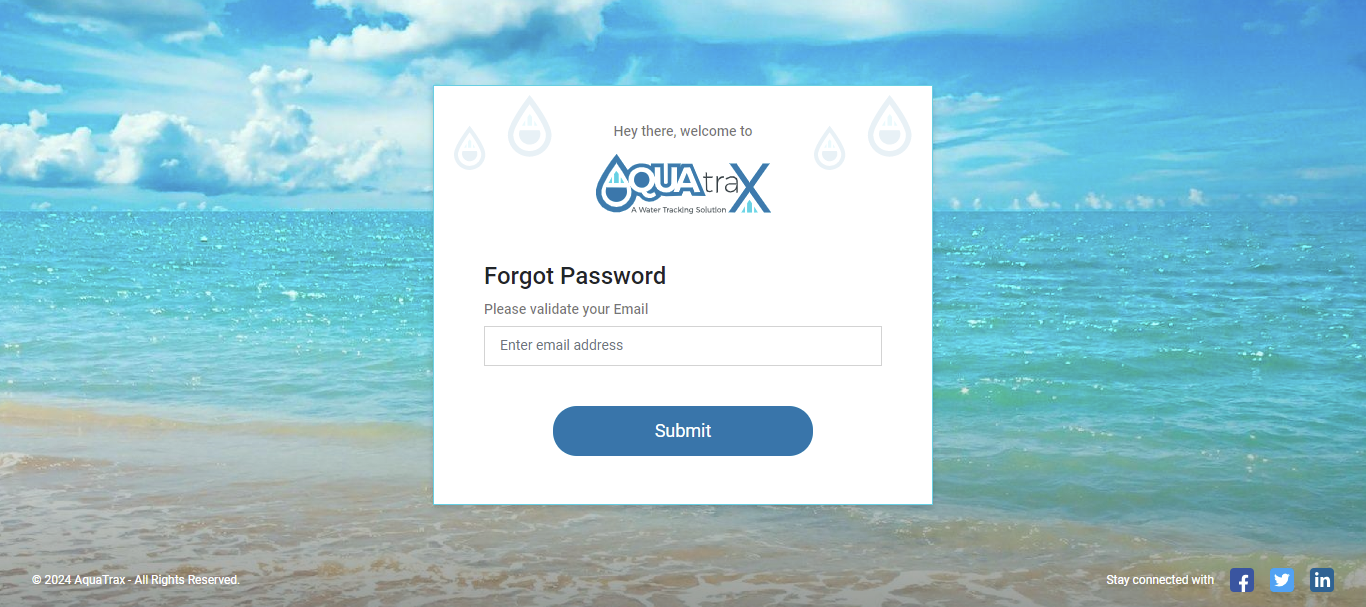
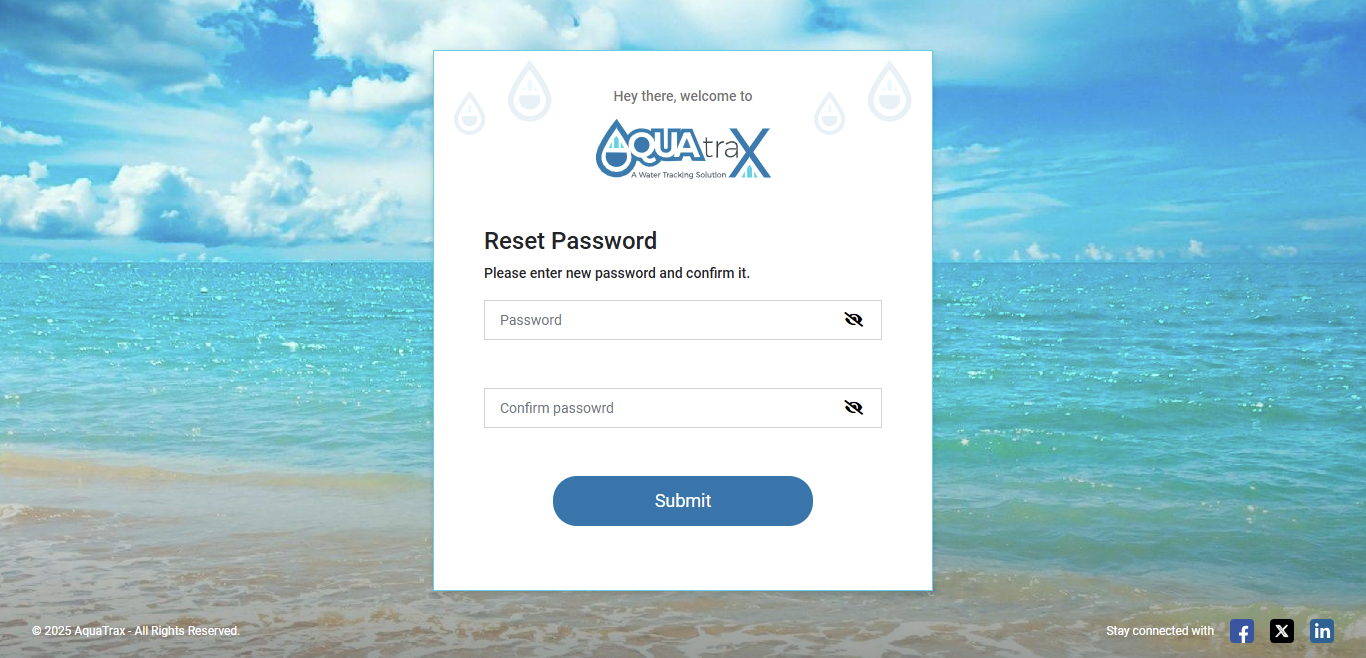
Forgot Password
The Forgot Password feature allows users to securely reset their passwords in case they forget them. This ensures account access while maintaining security protocols.
-
1. Request Password Reset:
- • On the login page, click on the "Forgot Password" link.
- • Enter your registered email address and click submit.
- • If the email is valid, you will receive an OTP (One-Time Password) via both email and SMS.
-
2. Verify Email:
- • Enter and confirm your new password.
-
3. Set a New Password:
- • Enter a new password and confirm it.
- • Password must meet these security requirements:
- 8-12 characters
- • At least one uppercase letter (A–Z)
- • At least one lowercase letter (a–z)
- • At least one number (0–9)
- • At least one special character: @, #, $, !, %
-
4. Confirm Password Update
- • Submit the form to reset your password.
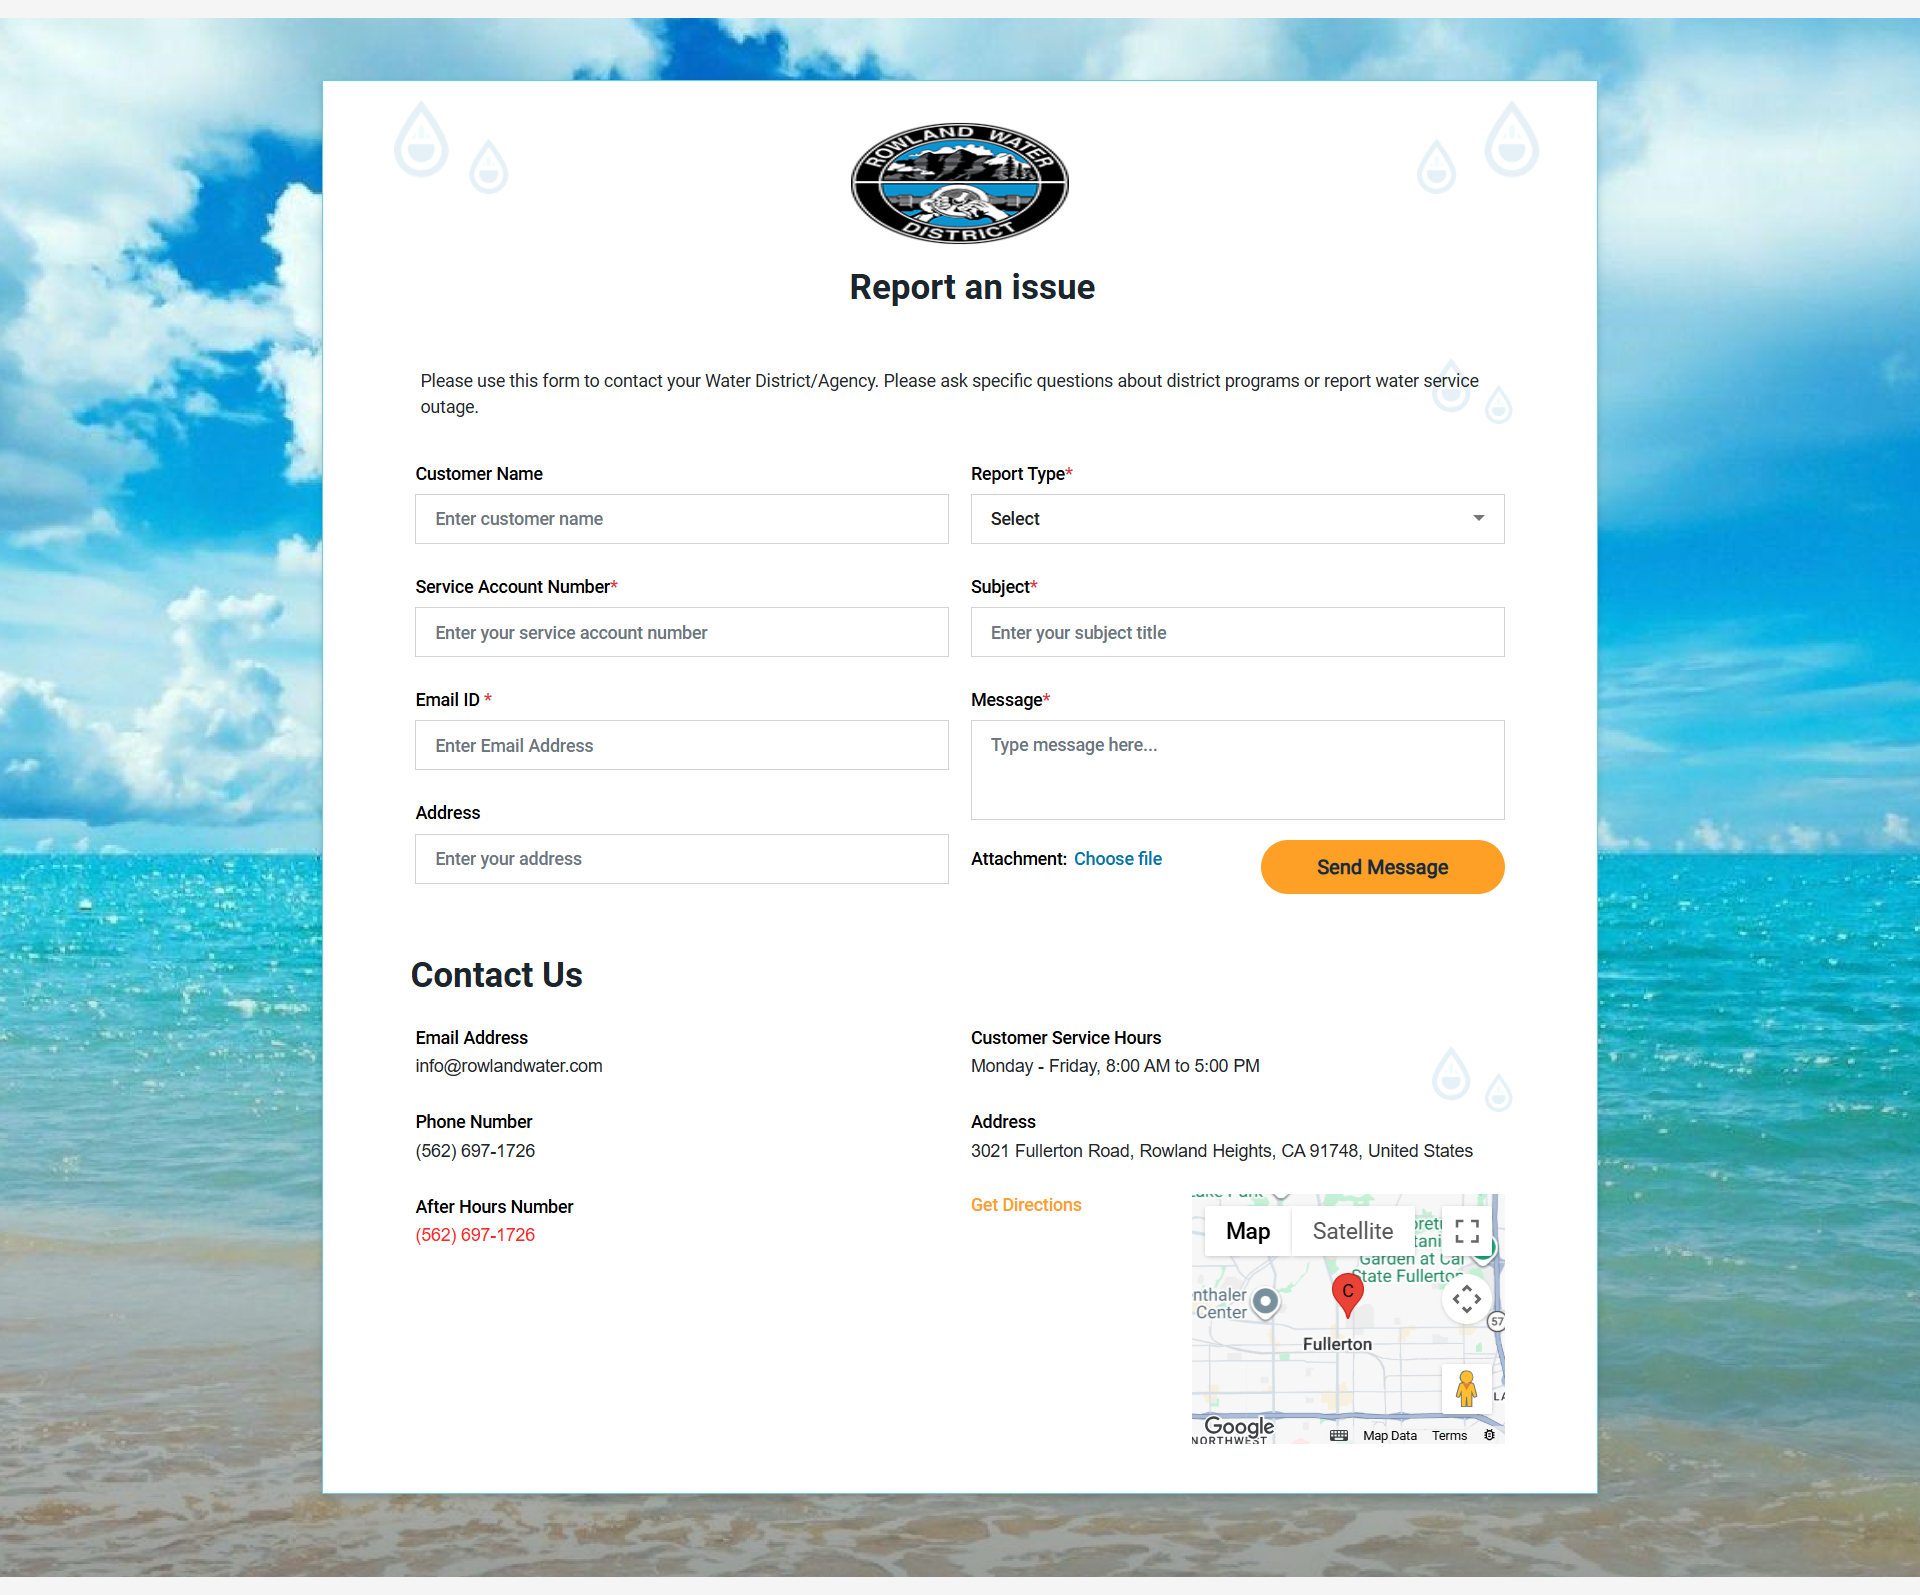
Report An Issue
1. 1. Go to the Website or App:
- ○ Visit the utility's official website or open the mobile app.
- ○ Click on the "Contact Us" option.
2. 2. Enter Required Information:
- ○ Provide your Service Account Number (You can check this on your bill) and Email Address (mandatory).
- ○ Optionally, you can enter your Name, Address, and upload Attachments.
3. 3. Choose Report Type:
- ○ Select the appropriate issue type from the given list.
4. 4. Provide Issue Details:
- ○ Enter a Subject and describe the issue in detail.
5. 5. Upload Files (Optional):
- ○ You can upload photos or documents related to the issue.
- ○ Capture images with location details if needed.
6. 6. Submit the Report:
- ○ Click the "Submit" button to send your report.
7. 7. Tracking Your Issue:
- ○ Your reported issue will appear in the issue list on our Admin portal.
8. 8. For Urgent Issues:
- ○ Call the emergency contact number provided on the website or app.
If you have any questions, feel free to contact our support team.